DOCUMENTATION MOVED
Go to the new version of this page at https://docs.gmetri.com/metaverse/build/project-settings
Experiences
Create a new experience
On your dashboard, you will see the Create Experience button.
- Click on
Create Experiencebutton to create a new experience by adding a name for the experience in the input box that appears. - Once added, the experience appears among the experience cards.
Access an experience
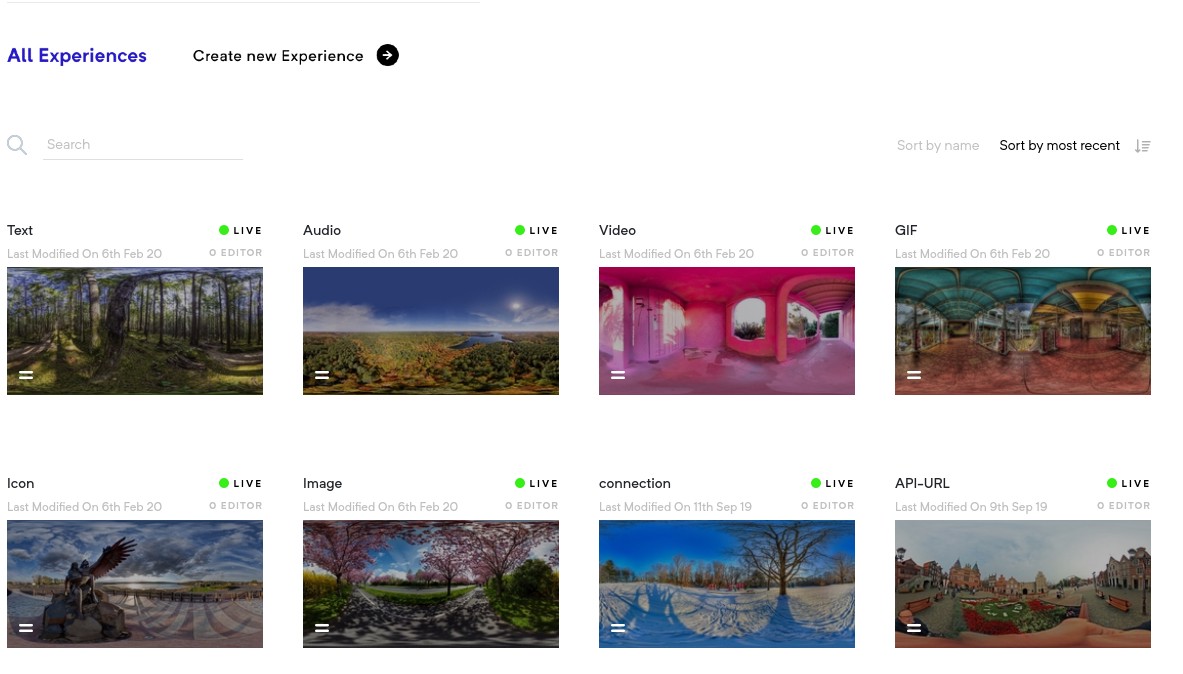
On your dashboard, you will see all the experience cards under your organization. These cards will be arranged in the order of activity. The most recently modified/newly created experience will appear first. You can change this to sort the list in the opposite order or sort it by name by toggling the Sort by name and Sort by most recent option.
Experience Cards
The experience cards provide brief insight into the experiences. You will see:
- Experience title
- Status (LIVE/NOT LIVE)
- Last modification date
- Number of editors
- Menu button
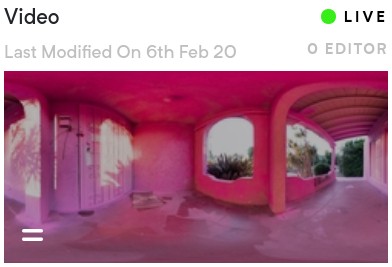
To edit an experience, click on its card to head over to that experience's page.
For quick access to experience actions, click on menu =.
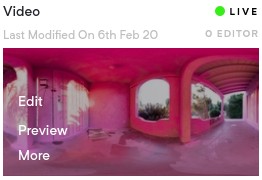
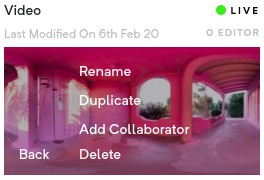
This is also the place that provides you a way to duplicate your experience.
Click on the card to dive into the experience builder.
Experience Settings
You can access your experience settings using the Settings (gear) icon on the left-bar.
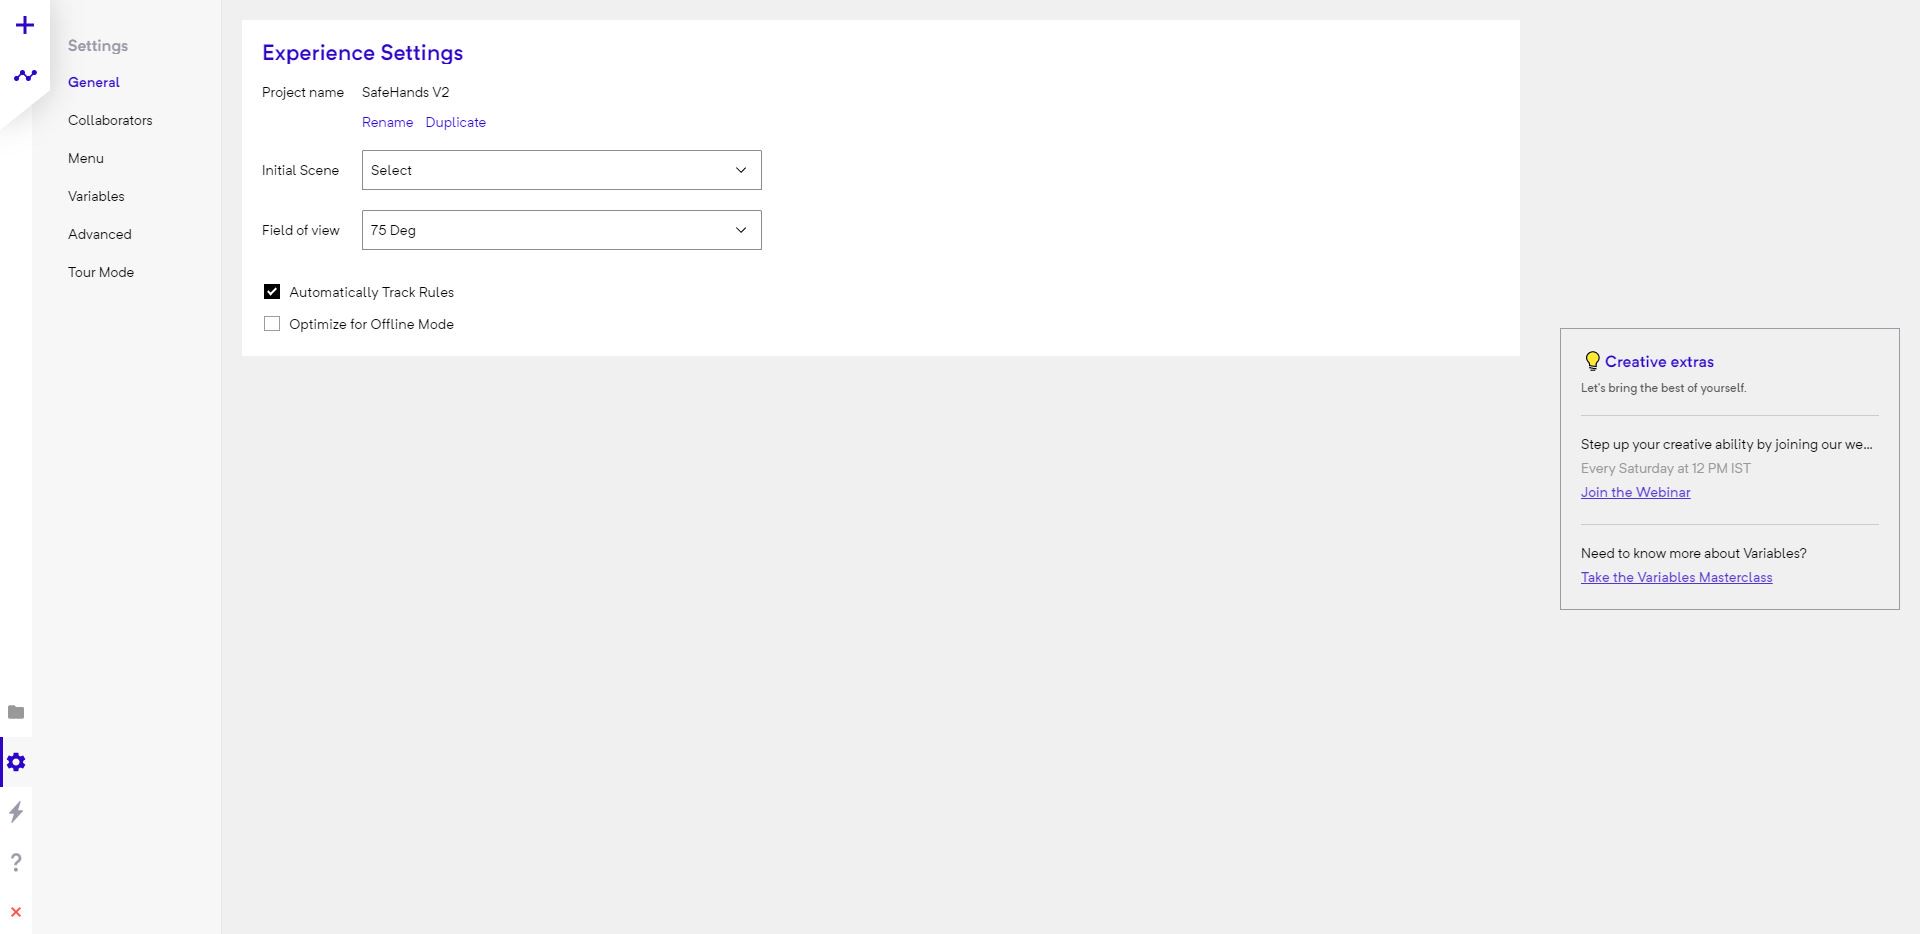
The Experience settings will appears as a gear icon on the left bar while you are building your experience. If you haven't built any experience yet, please head over to the Build section first.
It has five tabs:
- General
- Collaborator
- Menu
- Variables
- Advanced
- Tour mode
General Settings
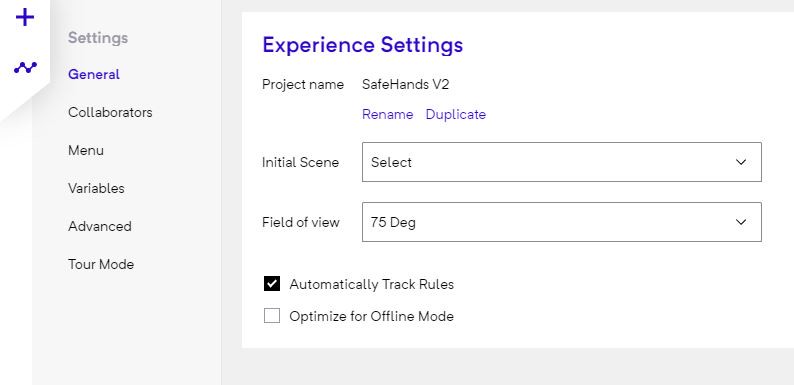
Here you can:
- Rename or duplicate the experience.
- Change initial scene using the dropdown.
- Change the field of view angle.
- Set option to automatically track all rules.
- Set option to optimize for offline mode. This optimizes all assets for better offlining.
Collaborators
Use this tab to add new colaborators to the experience.

Menu
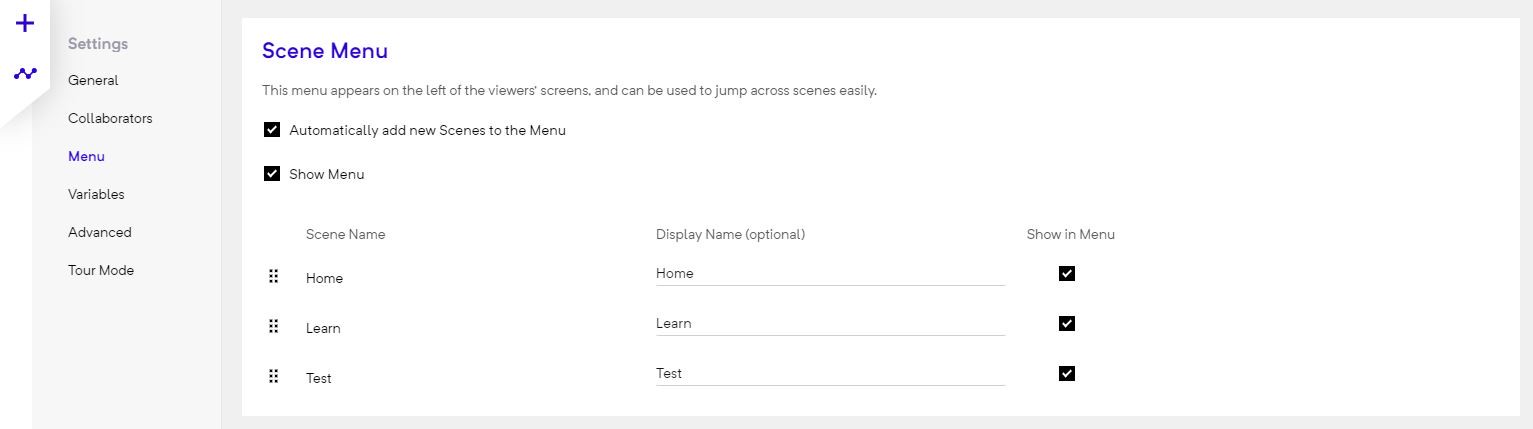
This tab is used to control the Menu used to toggle between Scenes.
The menu looks like this:
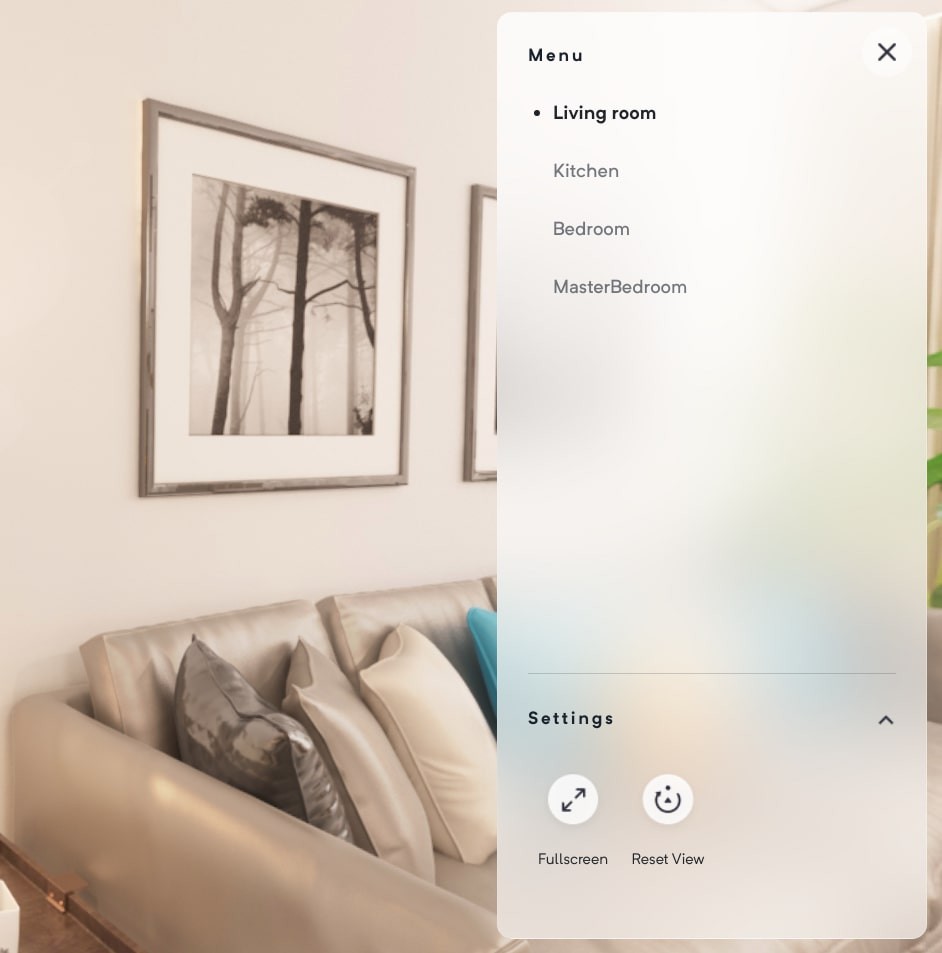
It appears both in the editor and in the viewer. On the menu tab, you can control if you want this menu enabled or disabled. You can also control if you want any scene to be shown in the menu or not individually.
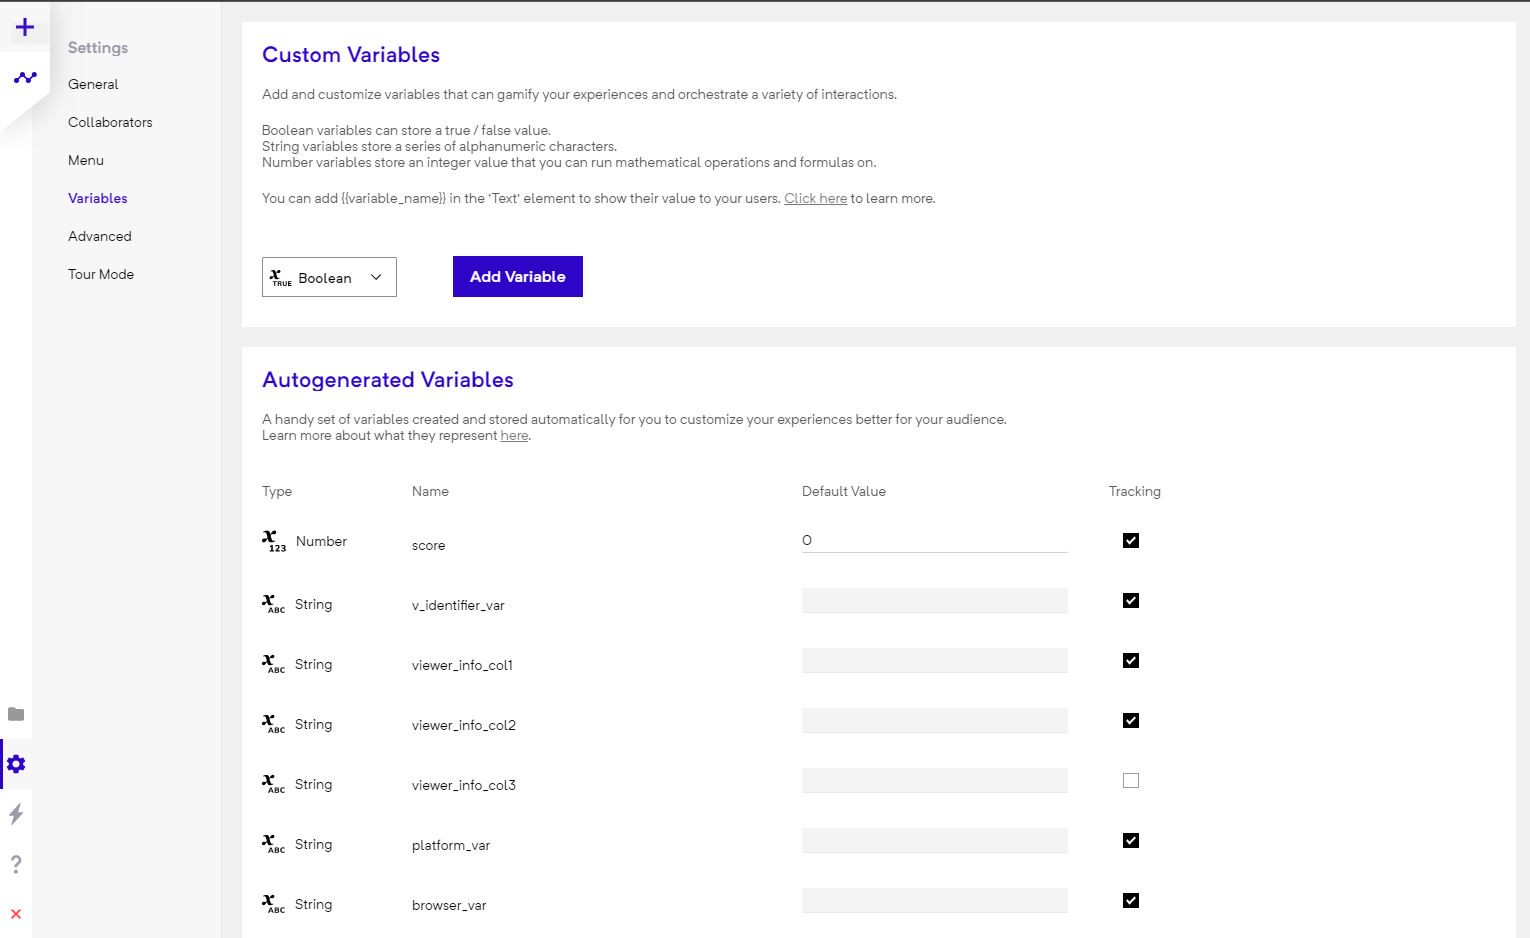
Variables
Variables can be added to the experience in the variables tab. These varaibles can then be used in rules to control various properties of elements and scenes.
Advanced
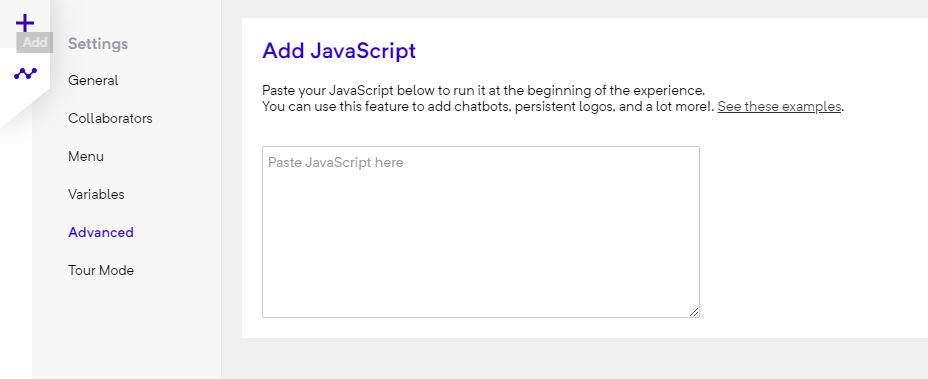
When working in the editor, some experiences require that custom logic be run when certain events occur, since this logic depends on specific use cases, the editor has a script property where a custom javascript can be entered. This script will be executed during the run time (i.e., in the view mode)
Here is a sample script that will add a small timer to the upper left hand of your screen:
<script>
window.onload = function(){
  var second = 0;
  var minute = 0;
  function addZero(n){
    if(n<10) {return "0"+n}
    else {return n;}
  }

  var h1 = document.createElement("h1");
  h1.style['text-align'] = 'left';
  h1.style['font-size'] = '30px';
  h1.style['position'] = 'absolute';
  h1.style['width'] = '100%';
  h1.style['color'] = 'white';
  h1.style['fontFamily'] = 'montserrat';
  document.getElementById("app").appendChild(h1);
  setInterval(function(){
    h1.innerHTML = addZero(minute) + ":" + addZero(second);
    second++;
    if(second == 60){
      minute++; second = 00;
    }
  }, 1000); }
</script>
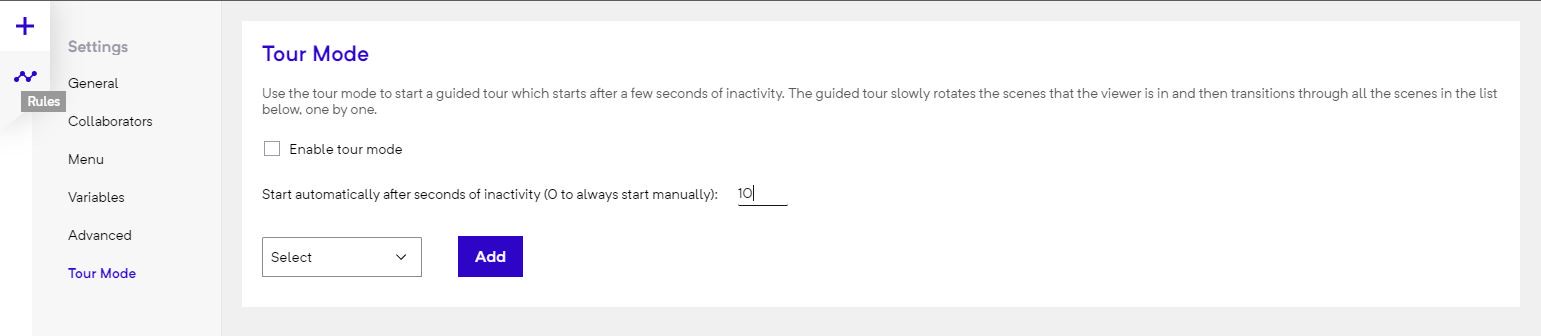
Tour Mode
Use the tour mode to start a guided tour which starts after a few seconds of inactivity. The guided tour slowly rotates the scenes that the viewer is in and then transitions through all the scenes in the list below, one by one.
After enabling tour mode, you may select the scenes and the order in which to show them.
An example of the tour mode can be seen in this experience: